Performing regular website backups is vital. Every experienced website owner knows this. Unfortunately, many new WordPress users do not take this as serious as they should.
Website backups don’t seem important until something goes wrong. It’s a hard lesson that users never forget. If you are smart, you will get into the habit of backing up your website early.
While there’s hundreds of WordPress backup plugins, there’s no better solution than manual backup of your files and database.
Steps to Manually Backup Your WordPress website in CPanel
Each WordPress website is made up of files and a database.
Database: The database stores information rather than files, it holds the content written on each page or post as well as the configuration settings for your WordPress installation.
Website Files: This is the guts of what makes your website function the way it does. It’s essentially the code running in the background that allow you to make updates and displays your content the way that it is supposed to. It’s also the files you’ve added yourself, so any images, video’s or pdf files are stored here as well.
Backup WordPress Files
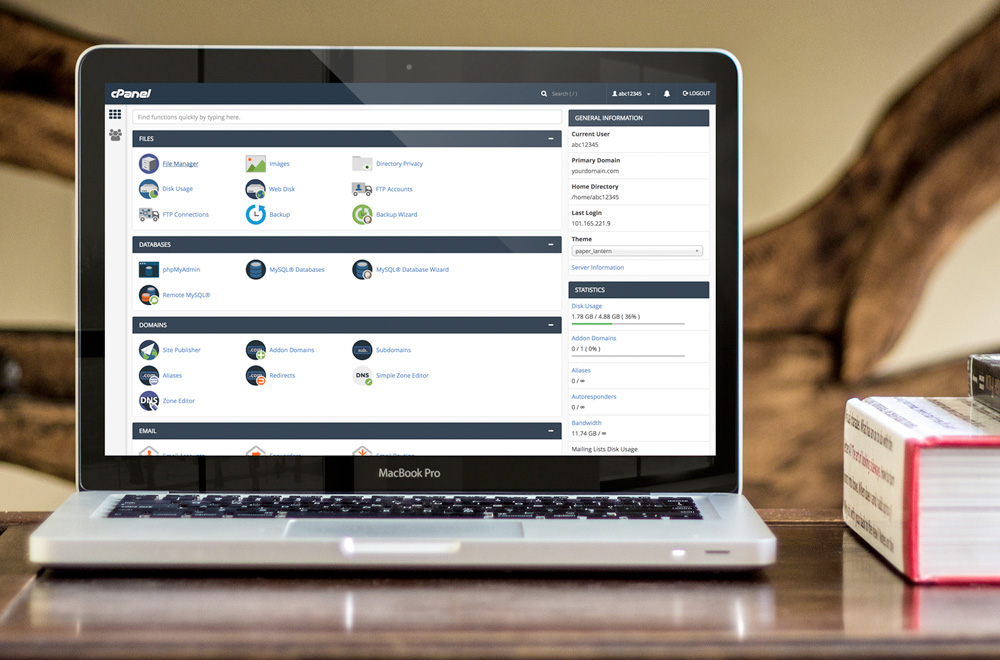
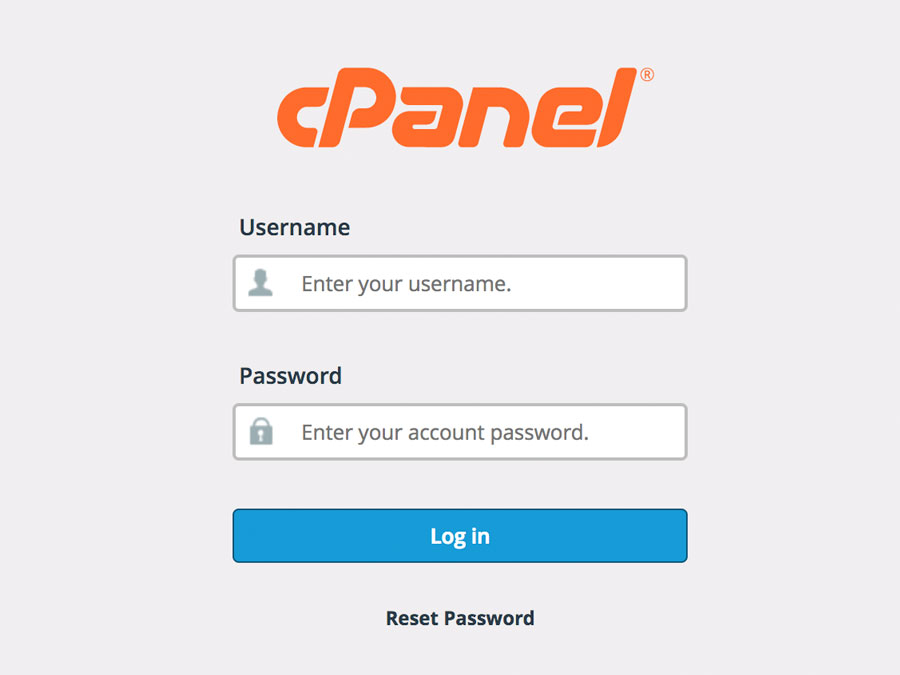
1. Log in to your CPanel
This is the control panel given to you by your hosting provider, you can usuall access it by visiting http://www.yourdomain.com/cpanel and then typing in the username and password given to you by the host.
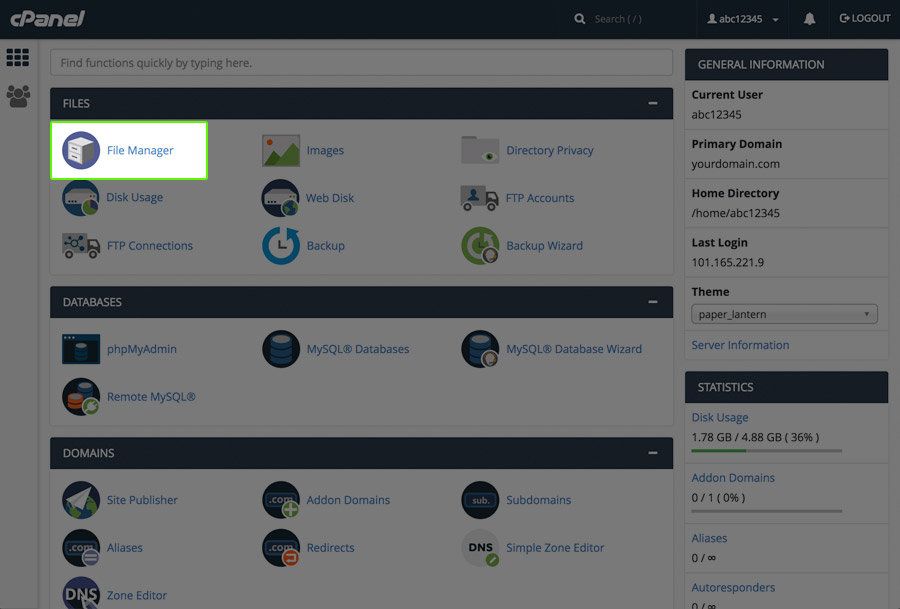
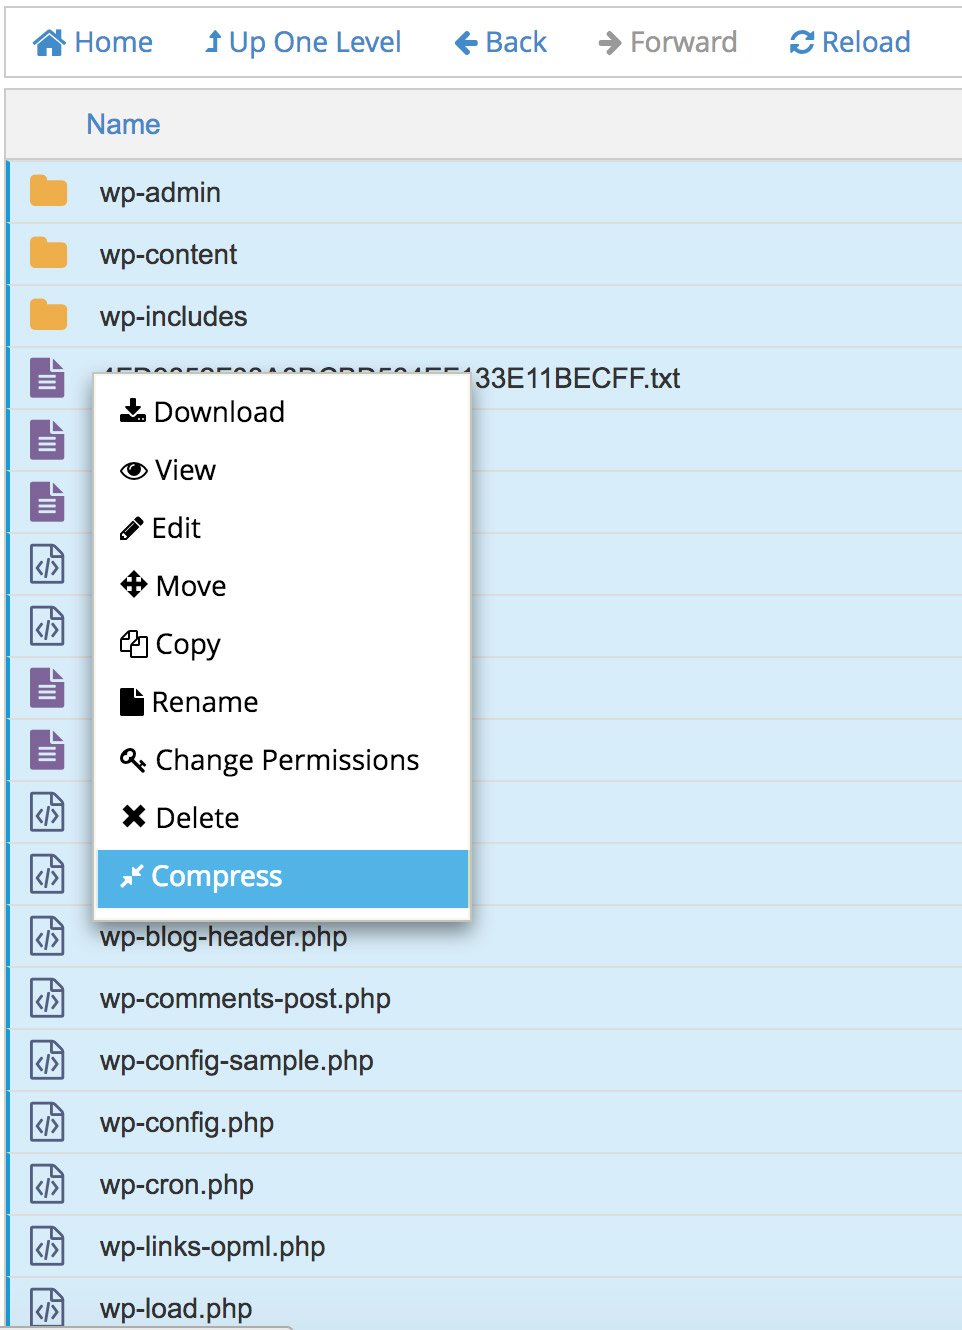
2. Open CPanel File Manager
3. Compress WordPress directory and download.
Once you’re inside the file manager you should be in what is called the ‘root’ folder. This is where the majority of your website folders and files will be. We’re going to select your entire WordPress direcotry, including ‘wp-content’, ‘wp-admin’, ‘wp-includes’ and all other root directory files. Select all, right click and select compress. This will then give you the option to compress to a zip file. You can then download the zip file.
Backup WordPress Database
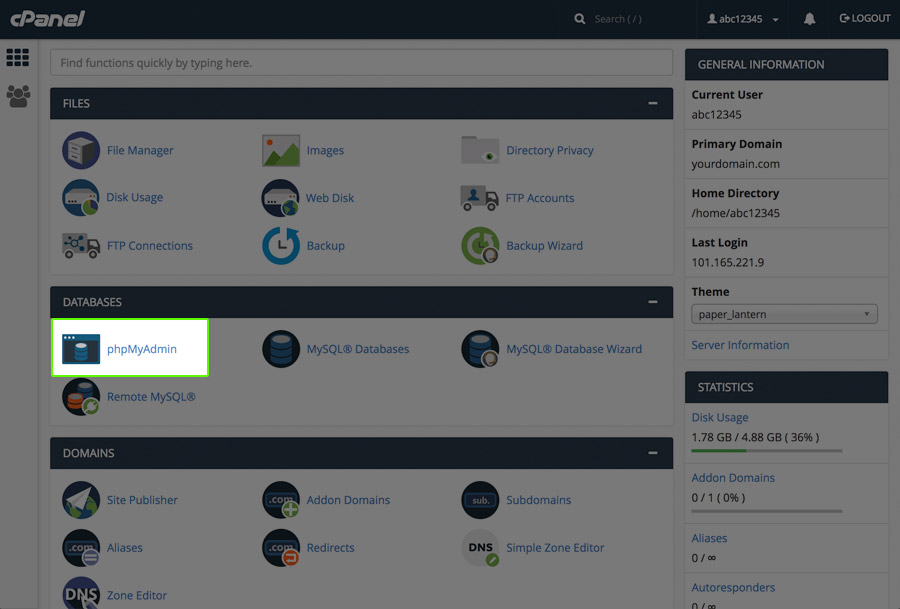
1. Open phpMyAdmin
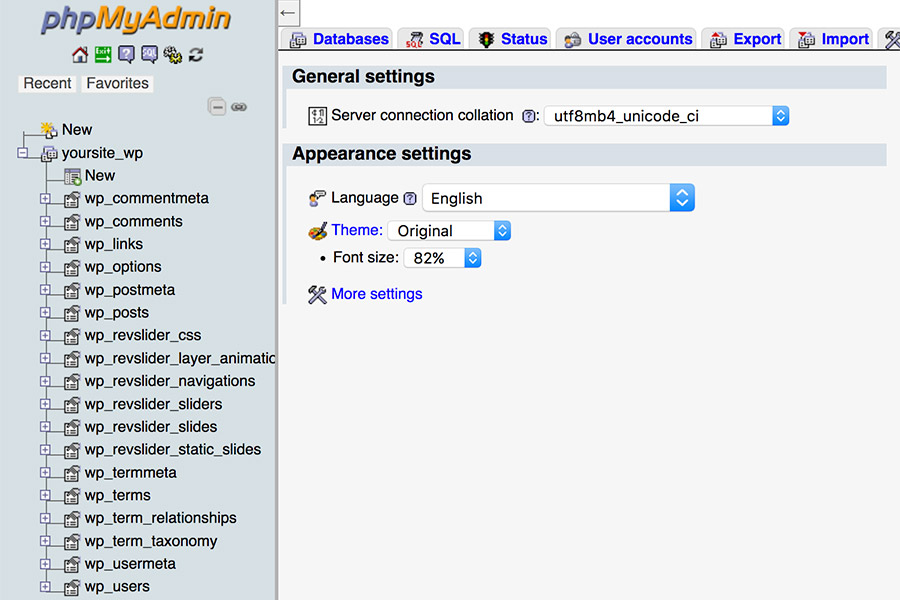
2. Find your WordPress site database
If you only have one website installed on your server, this should be pretty easy to find. Click on the database name on the left hand side in order to display the tables in the center of the screen. If you have more than one database and aren’t sure which database your WordPress site is using, simply open wp-config.php in your file manager to view the active database name.
3. Export SQL data to Zip
With the database selected, click on the Export tab at the top of the page. Next you need to configure your export settings. Generally phpMyAdmin sets your export settings pretty well by default. The changes we need to make is to select the custom option at the top of the page. From here we are going to ensure all database tables are highlighted and save the output to a file; with the file compression set to zipped.
Feel free to leave the file name as “@DATABASE@” as it’ll output your actual database name. Also, don’t forget to ensure you’re exporting the character set as utf-8.
Leave the options for Format-specific options and data creation options as is – they don’t need to be changed. Scroll to the bottom and click GO!

You’re Finished!
That was easy, your database should now be downloading to your computer and you’ve got a full backup of your website files and database.
Store both of the files (your zipped website files and sql database) in a Dropbox or cloud based storage so that if anything ever goes wrong you can quickly forward these to a developer and get your website restored.
Don’t have time to do this yourself? View my website maintenance packages to see how I can help.